Nature
Ultimate Guide to Northern Lights Watching in Iceland: Tips and Photography Tricks
By: Ilse Cer
Tue, 23 Apr 2024


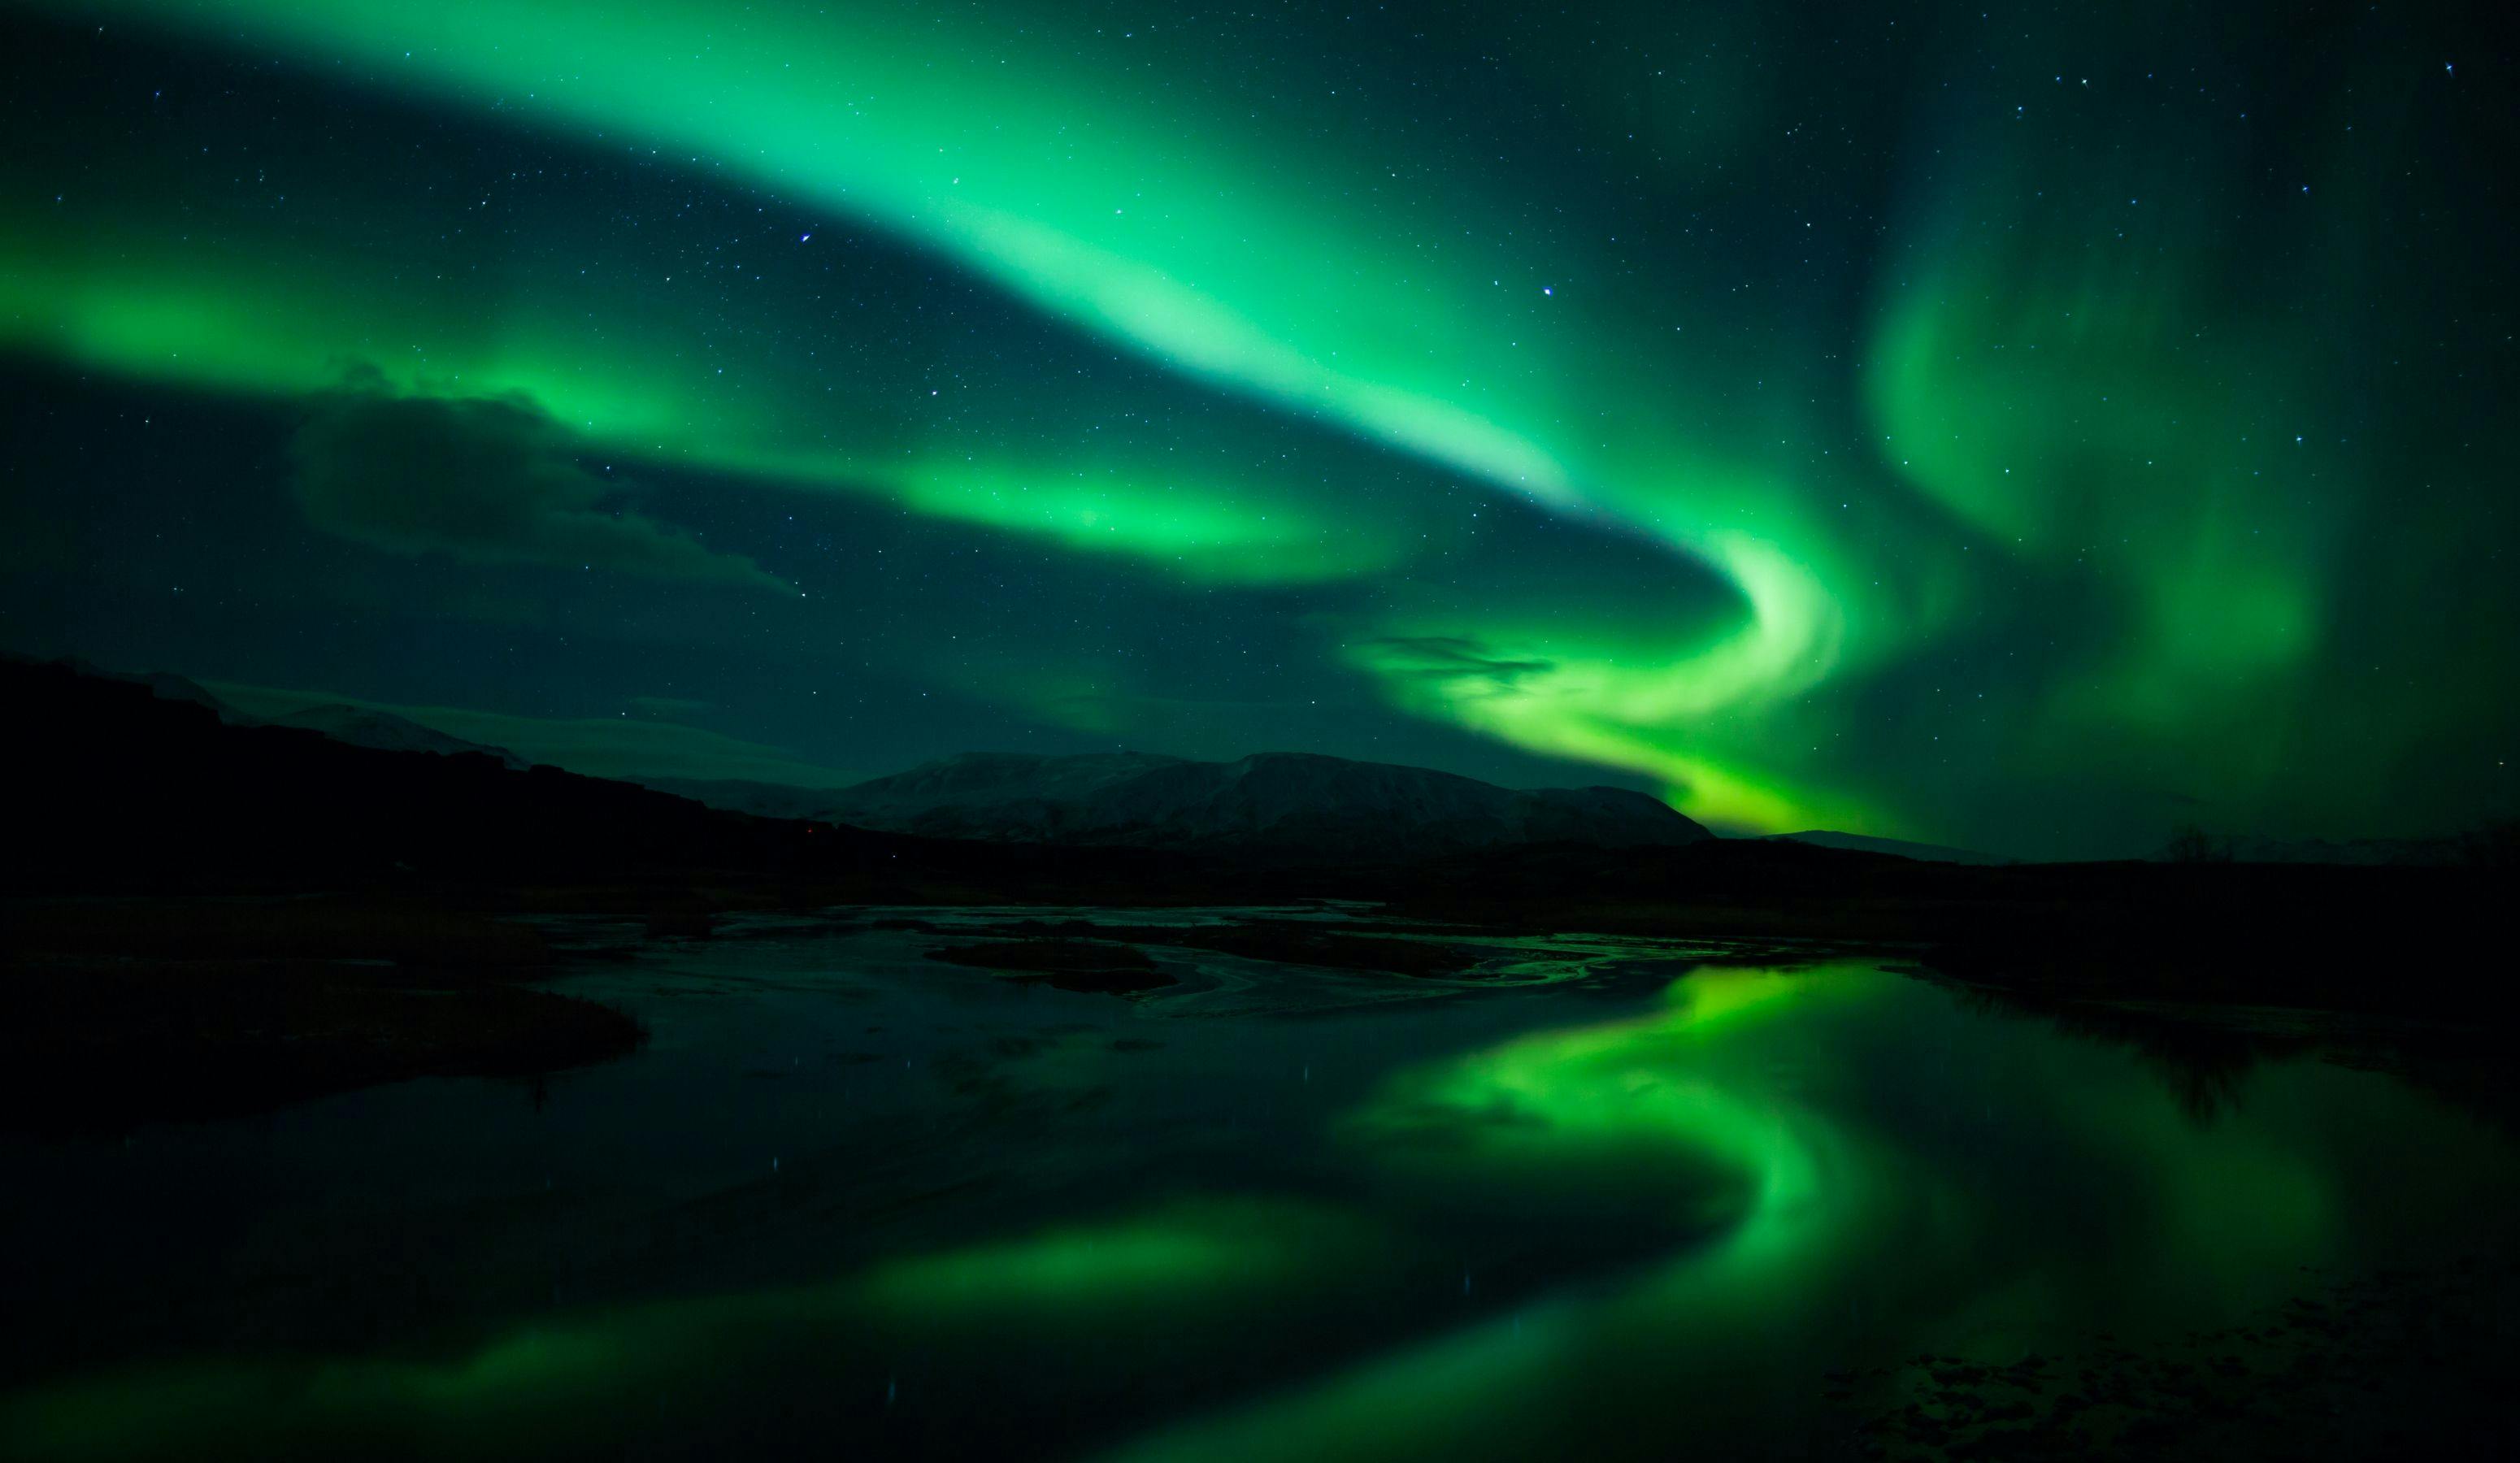
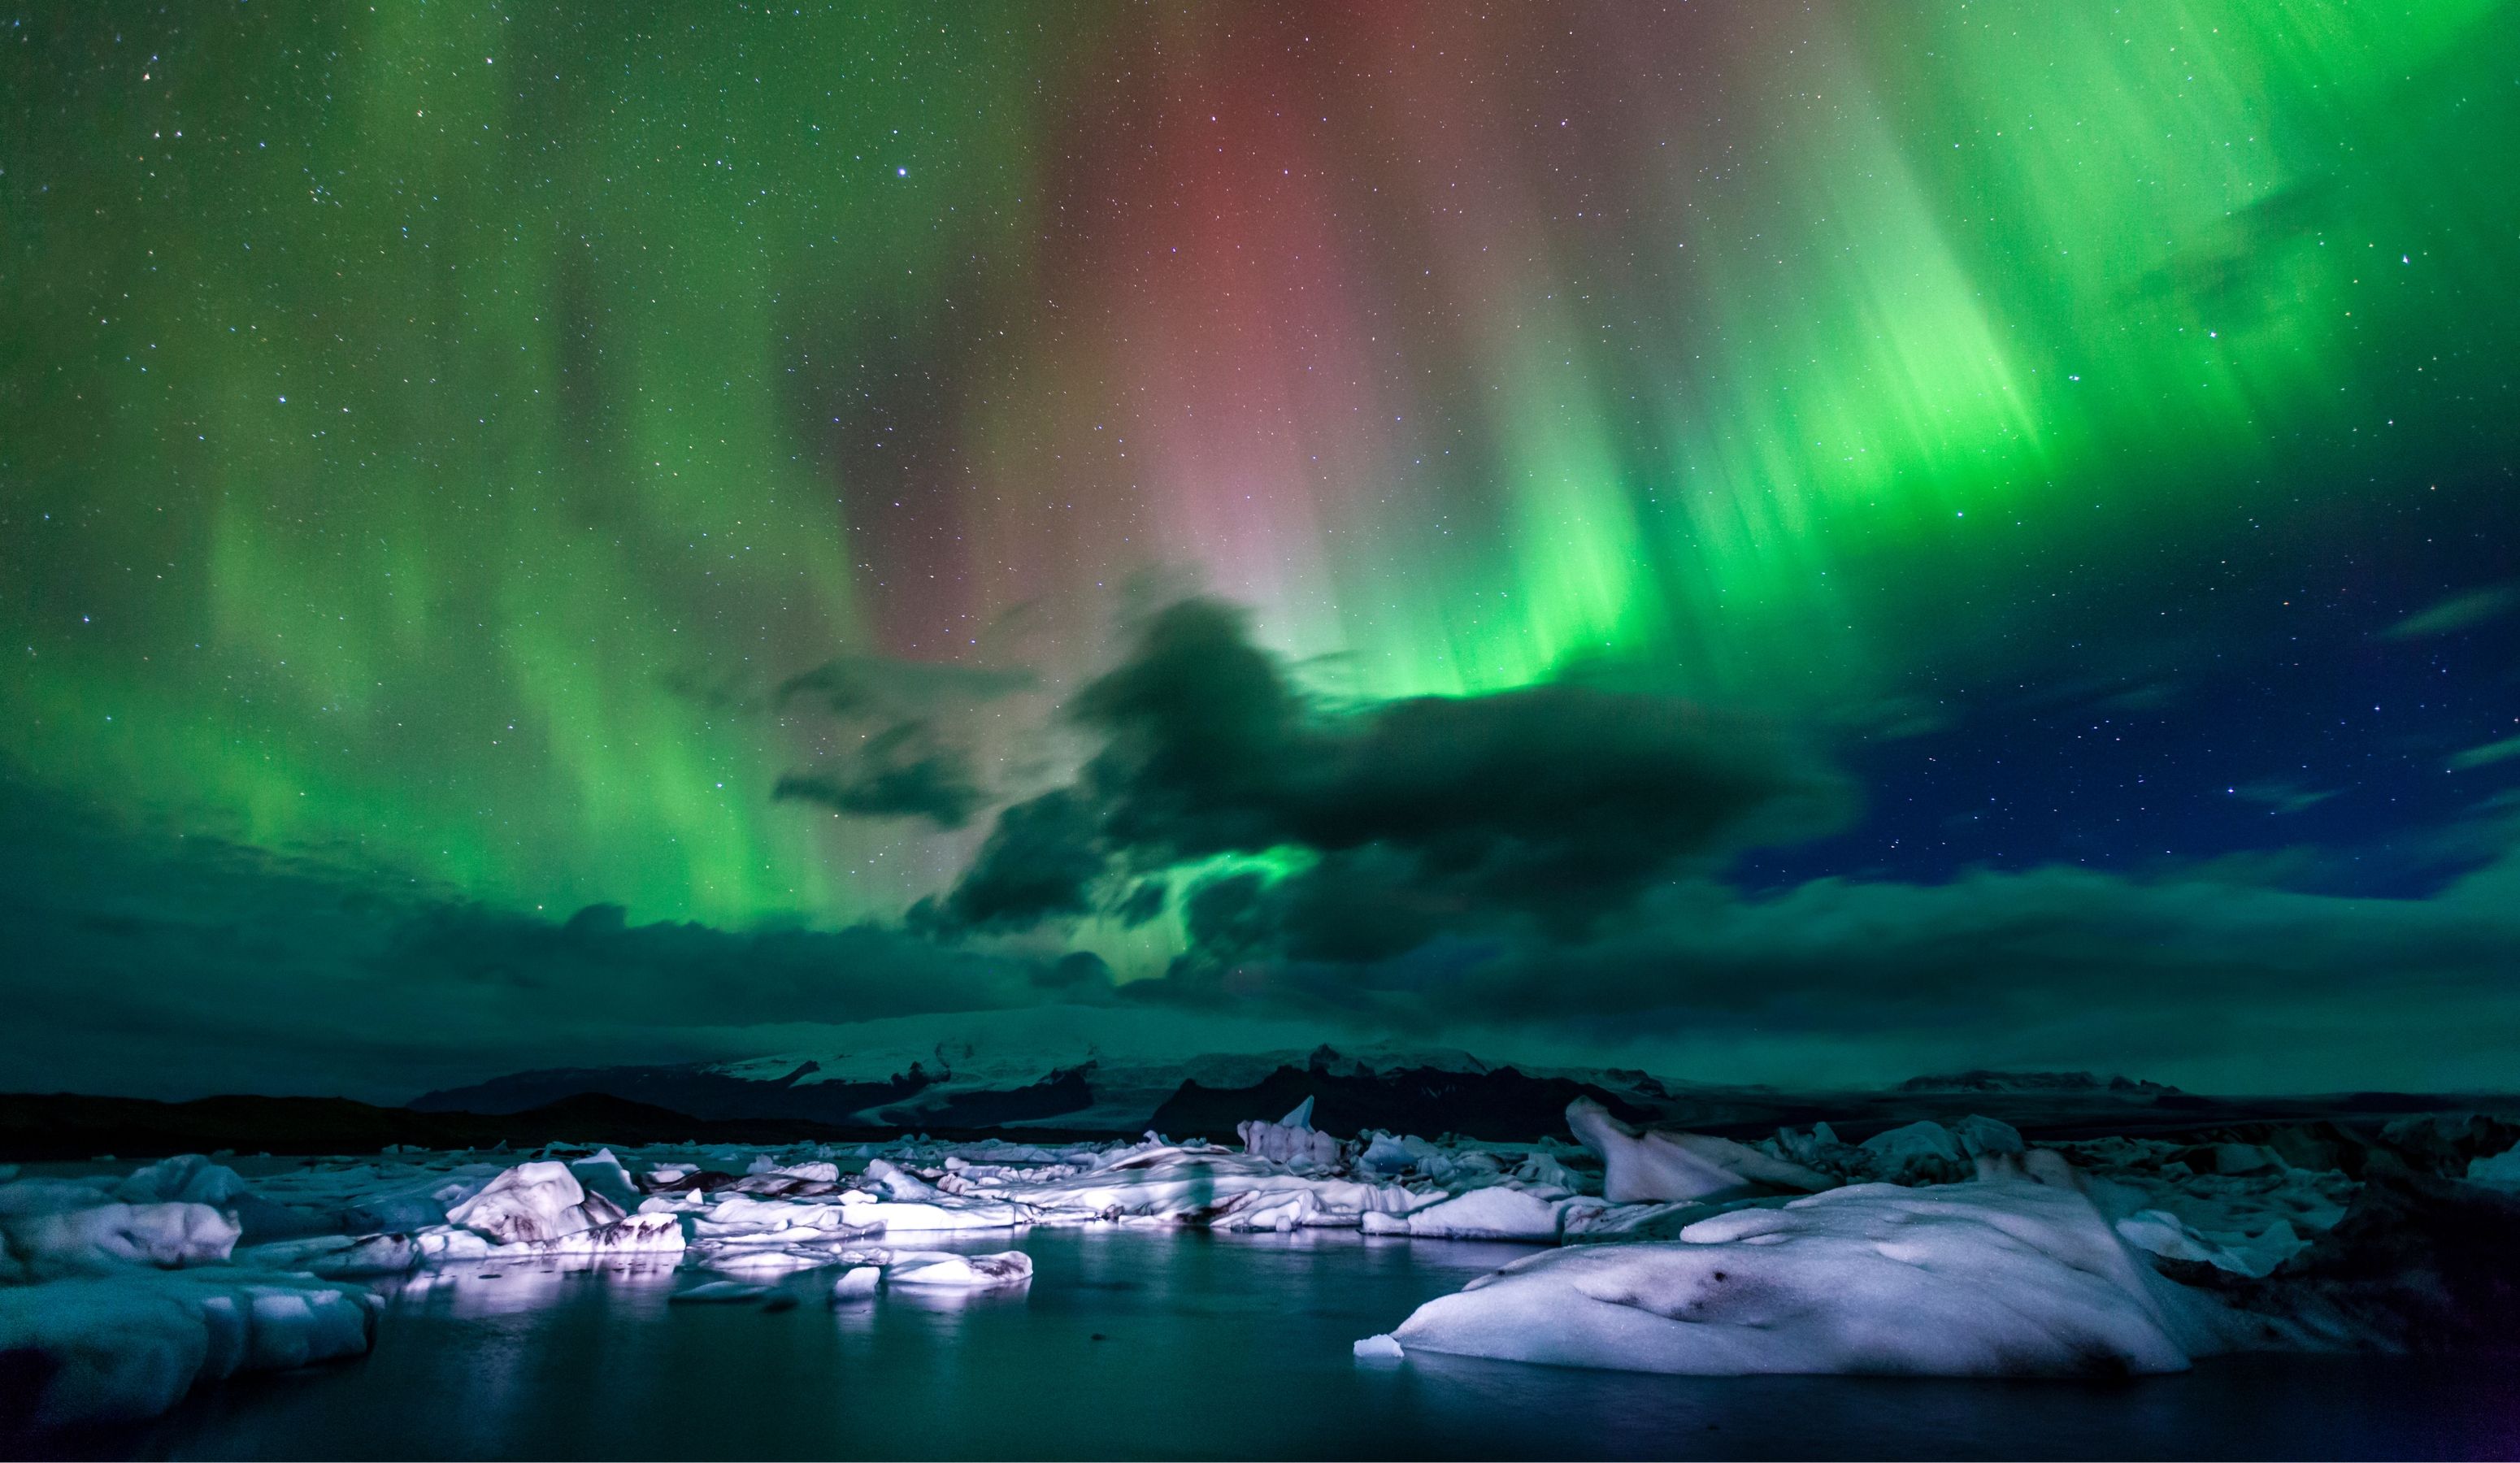
Iceland's pristine landscapes and clear night skies make it one of the best places in the world to witness the mesmerizing display of the Northern Lights, also known as the Aurora Borealis. If you're planning a trip to Iceland and hoping to catch a glimpse of this natural phenomenon, you're in luck! In this guide, we'll provide you with everything you need to know to maximize your chances of seeing the Northern Lights and capture stunning photos to cherish forever.
Choose the Right Time and Location:
Choosing the right time and location is paramount when it comes to experiencing the awe-inspiring spectacle of the Northern Lights in Iceland. The phenomenon of the Aurora Borealis is most commonly observed during the winter months, typically from September to March, when the nights are at their longest and darkest. During this time, the chances of witnessing the dancing lights in the sky are significantly higher, providing ample opportunities for breath-taking sightings.
However, beyond timing, the choice of location plays a crucial role in enhancing your Northern Lights experience. To maximize your chances of witnessing this natural wonder in all its glory, it's essential to venture away from the glare of city lights and light pollution. Instead, opt for remote and secluded areas where the skies are clear and unobstructed, allowing for optimal viewing conditions.
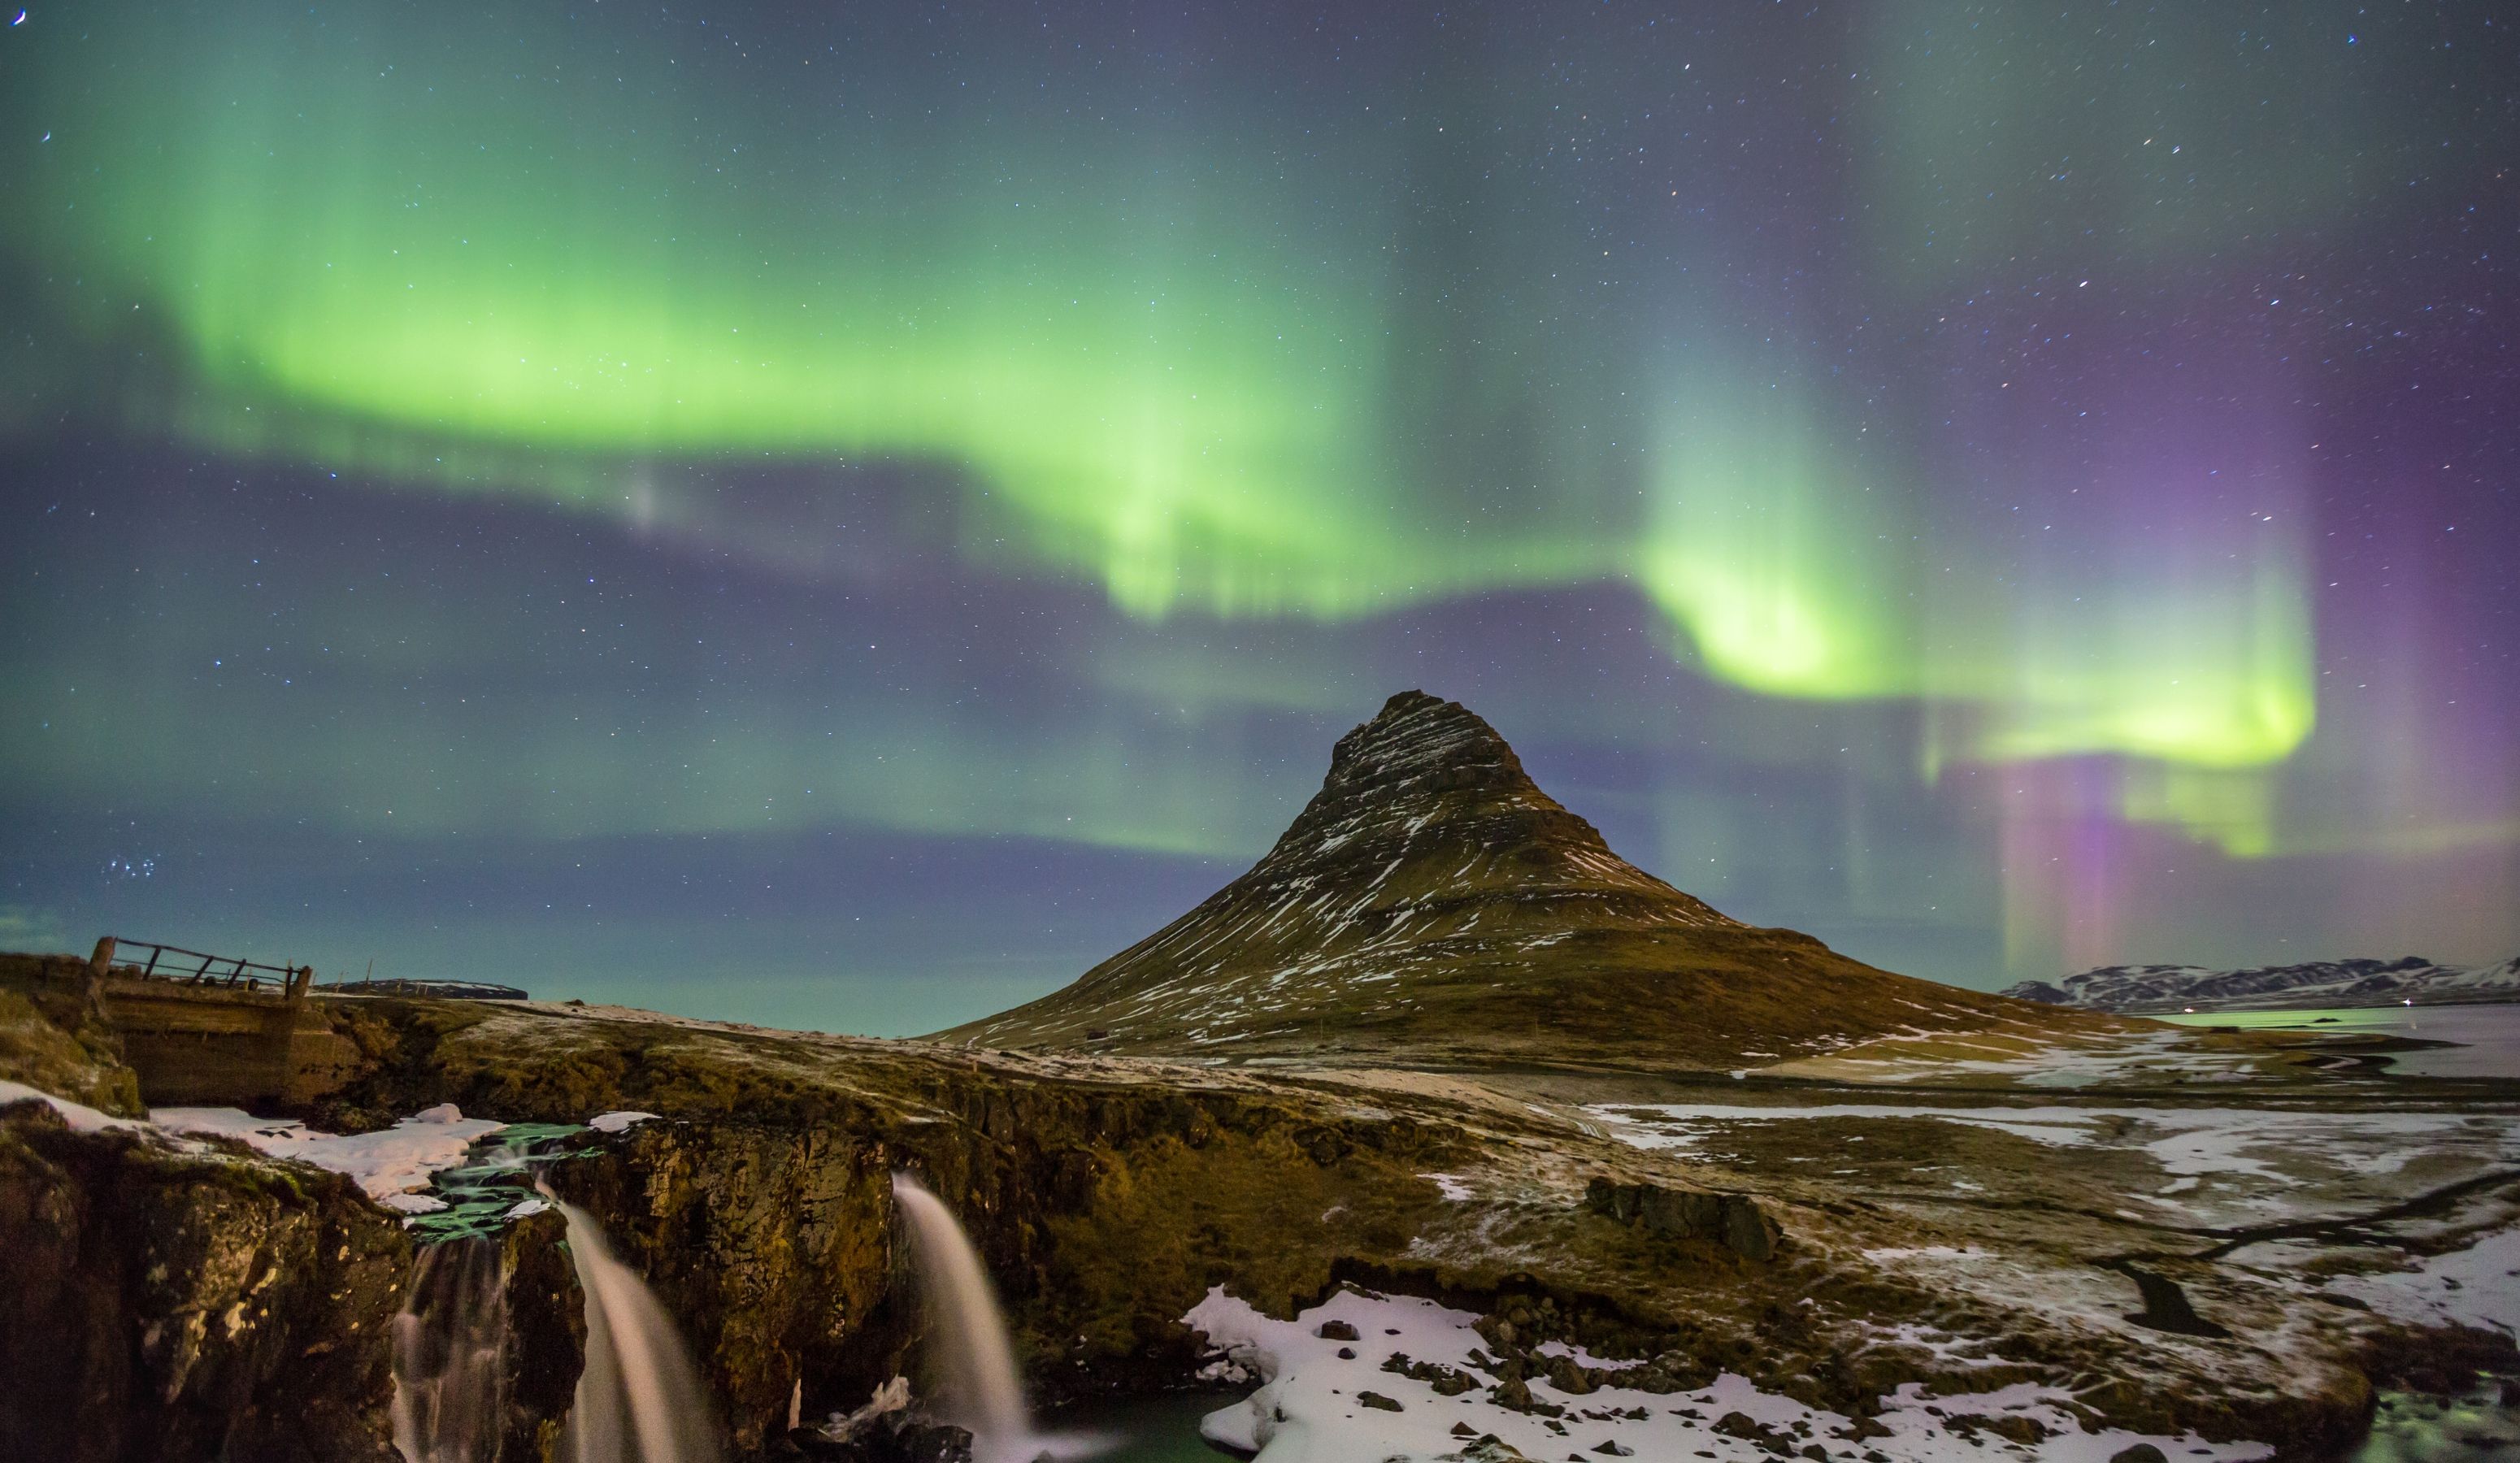
In Iceland, there are several prime locations renowned for their Northern Lights sightings. Thingvellir National Park, with its expansive vistas and minimal light pollution, offers an ideal setting for observing the auroras in all their splendour. The Snaefellsnes Peninsula, surrounded by dramatic coastal landscapes and rugged mountains, provides another captivating backdrop for Northern Lights viewing. For those seeking a truly remote and immersive experience, the wild and untamed Westfjords offer unparalleled opportunities to witness the auroras amidst Iceland's pristine wilderness.
By carefully selecting the right time and location for your Northern Lights adventure, you can increase your chances of witnessing this extraordinary natural phenomenon and create memories that will last a lifetime.
Monitor the Weather Forecast:
Keeping a close eye on the weather forecast is crucial for maximizing your chances of experiencing the Northern Lights in all their splendor. Clear skies are essential for optimal viewing conditions, as cloudy or overcast conditions can obstruct your view of the auroras. It's important to plan your trip accordingly and be prepared to adjust your itinerary based on weather updates. www.vedur.is
To stay informed about the weather conditions and aurora activity, websites like www.auroraforecast.is and www.vedur.is are invaluable resources. These platforms provide up-to-date information on cloud cover, solar activity, and aurora forecasts, allowing you to plan your Northern Lights adventure with confidence. By monitoring these websites regularly and staying informed about the latest weather forecasts, you can increase your chances of witnessing the Northern Lights in all their celestial glory. So be sure to check the forecast before heading out on your Northern Lights expedition and prepare for an unforgettable experience under the Arctic skies.
Be Patient and Stay Out Late:
Seeing the Northern Lights is a waiting game, so be patient and prepared to spend several hours outdoors. The best time to spot the auroras is typically between 10:00 PM and 2:00 AM when the sky is darkest. Bundle up in warm clothing, bring a thermos of hot drinks, and settle in for a night of stargazing.
Use a Good Camera and Tripod:
Capturing stunning photos of the Northern Lights requires careful consideration of equipment, regardless of whether you're using a professional DSLR camera or a smartphone. For DSLR enthusiasts, investing in a camera with manual settings and a sturdy tripod is essential. This setup allows for precise control over exposure settings and ensures stability during long exposures, resulting in sharp and clear images. Additionally, using a wide-angle lens with a low aperture (f/2.8 or lower) helps to capture more light and detail in your photos, enhancing the overall quality of your Northern Lights images.
However, if you prefer to use your smartphone to capture the beauty of the auroras, fear not! With advancements in smartphone technology, it's entirely possible to capture impressive Northern Lights photos with your mobile device. The most critical factor in smartphone photography of the Northern Lights is ensuring stability during long exposures. Using a tripod or stabilizing your phone on a steady surface is essential to prevent motion blur and achieve sharp images. Additionally, adjusting your phone's camera settings to enable a long exposure can further enhance the clarity and detail of your Northern Lights photos.
Whether you're using a DSLR camera or a smartphone, the key to capturing stunning photos of the Northern Lights lies in careful planning, patience, and attention to detail. By investing in the right equipment and employing the appropriate techniques, you can immortalize the magic of the auroras and create lasting memories of your Northern Lights experience in Iceland.
Adjust Your Camera Settings:
For photographing the Northern Lights, set your camera to manual mode and adjust the following settings:
- ISO: Start with a high ISO (800-1600) to capture the faint light of the auroras.
- Aperture: Use a wide aperture (f/2.8 or lower) to let in as much light as possible.
- Shutter Speed: Experiment with different shutter speeds (10-30 seconds) to capture the movement of the auroras without blurring.
When preparing to photograph the Northern Lights, it's essential to set your camera to manual mode to have full control over the exposure settings. By adjusting the ISO, aperture, and shutter speed, you can tailor your camera settings to effectively capture the mesmerizing beauty of the auroras.
Firstly, consider the ISO setting, which determines the sensitivity of your camera's sensor to light. To capture the faint light of the auroras, start with a relatively high ISO setting, typically ranging from 800 to 1600. This higher sensitivity allows your camera to gather more light, enhancing the visibility of the Northern Lights against the dark night sky.
Next, pay attention to the aperture setting, which controls the size of the opening in your lens. Using a wide aperture, such as f/2.8 or lower, is crucial for letting in as much light as possible. A wide aperture not only helps to brighten the overall exposure but also allows you to capture more detail in the auroras, resulting in clearer and more vibrant images.
Lastly, experiment with different shutter speeds to find the optimal setting for capturing the movement of the auroras without introducing motion blur. Generally, shutter speeds ranging from 10 to 30 seconds are ideal for Northern Lights photography. Longer exposures can create smoother and more dramatic light trails, while shorter exposures may better preserve the intricate details of the auroras.

Be Ready to Adjust:
Northern Lights are unpredictable, so be prepared to adjust your camera settings on the fly to capture the changing intensity and movement of the auroras. Stay alert and ready to take photos at a moment's notice to ensure you don't miss any fleeting moments of brilliance.
With these tips and photography tricks in mind, you're ready to embark on an unforgettable Northern Lights watching experience in Iceland. Remember to be patient, stay flexible, and enjoy the beauty of the auroras dancing across the Arctic sky. Happy shooting!
POPULAR ACTIVITIESPowered by:
We recommend booking tours and activities with our friends at Reykjavík Tourist Info. They offer all the most popular things to do, and their prices are always great. Here are a few of our favorite tours.
On their site you can see everything they have to offer: www.RTI.is
EXPLORE FURTHER


Whales of Iceland Museum, A Journey into the Majestic World of Whales

Discovering Iceland's Winter Magic: The Ultimate Guide to Winter Activities
Snowmobiling in Iceland: A Thrilling Arctic Adventure
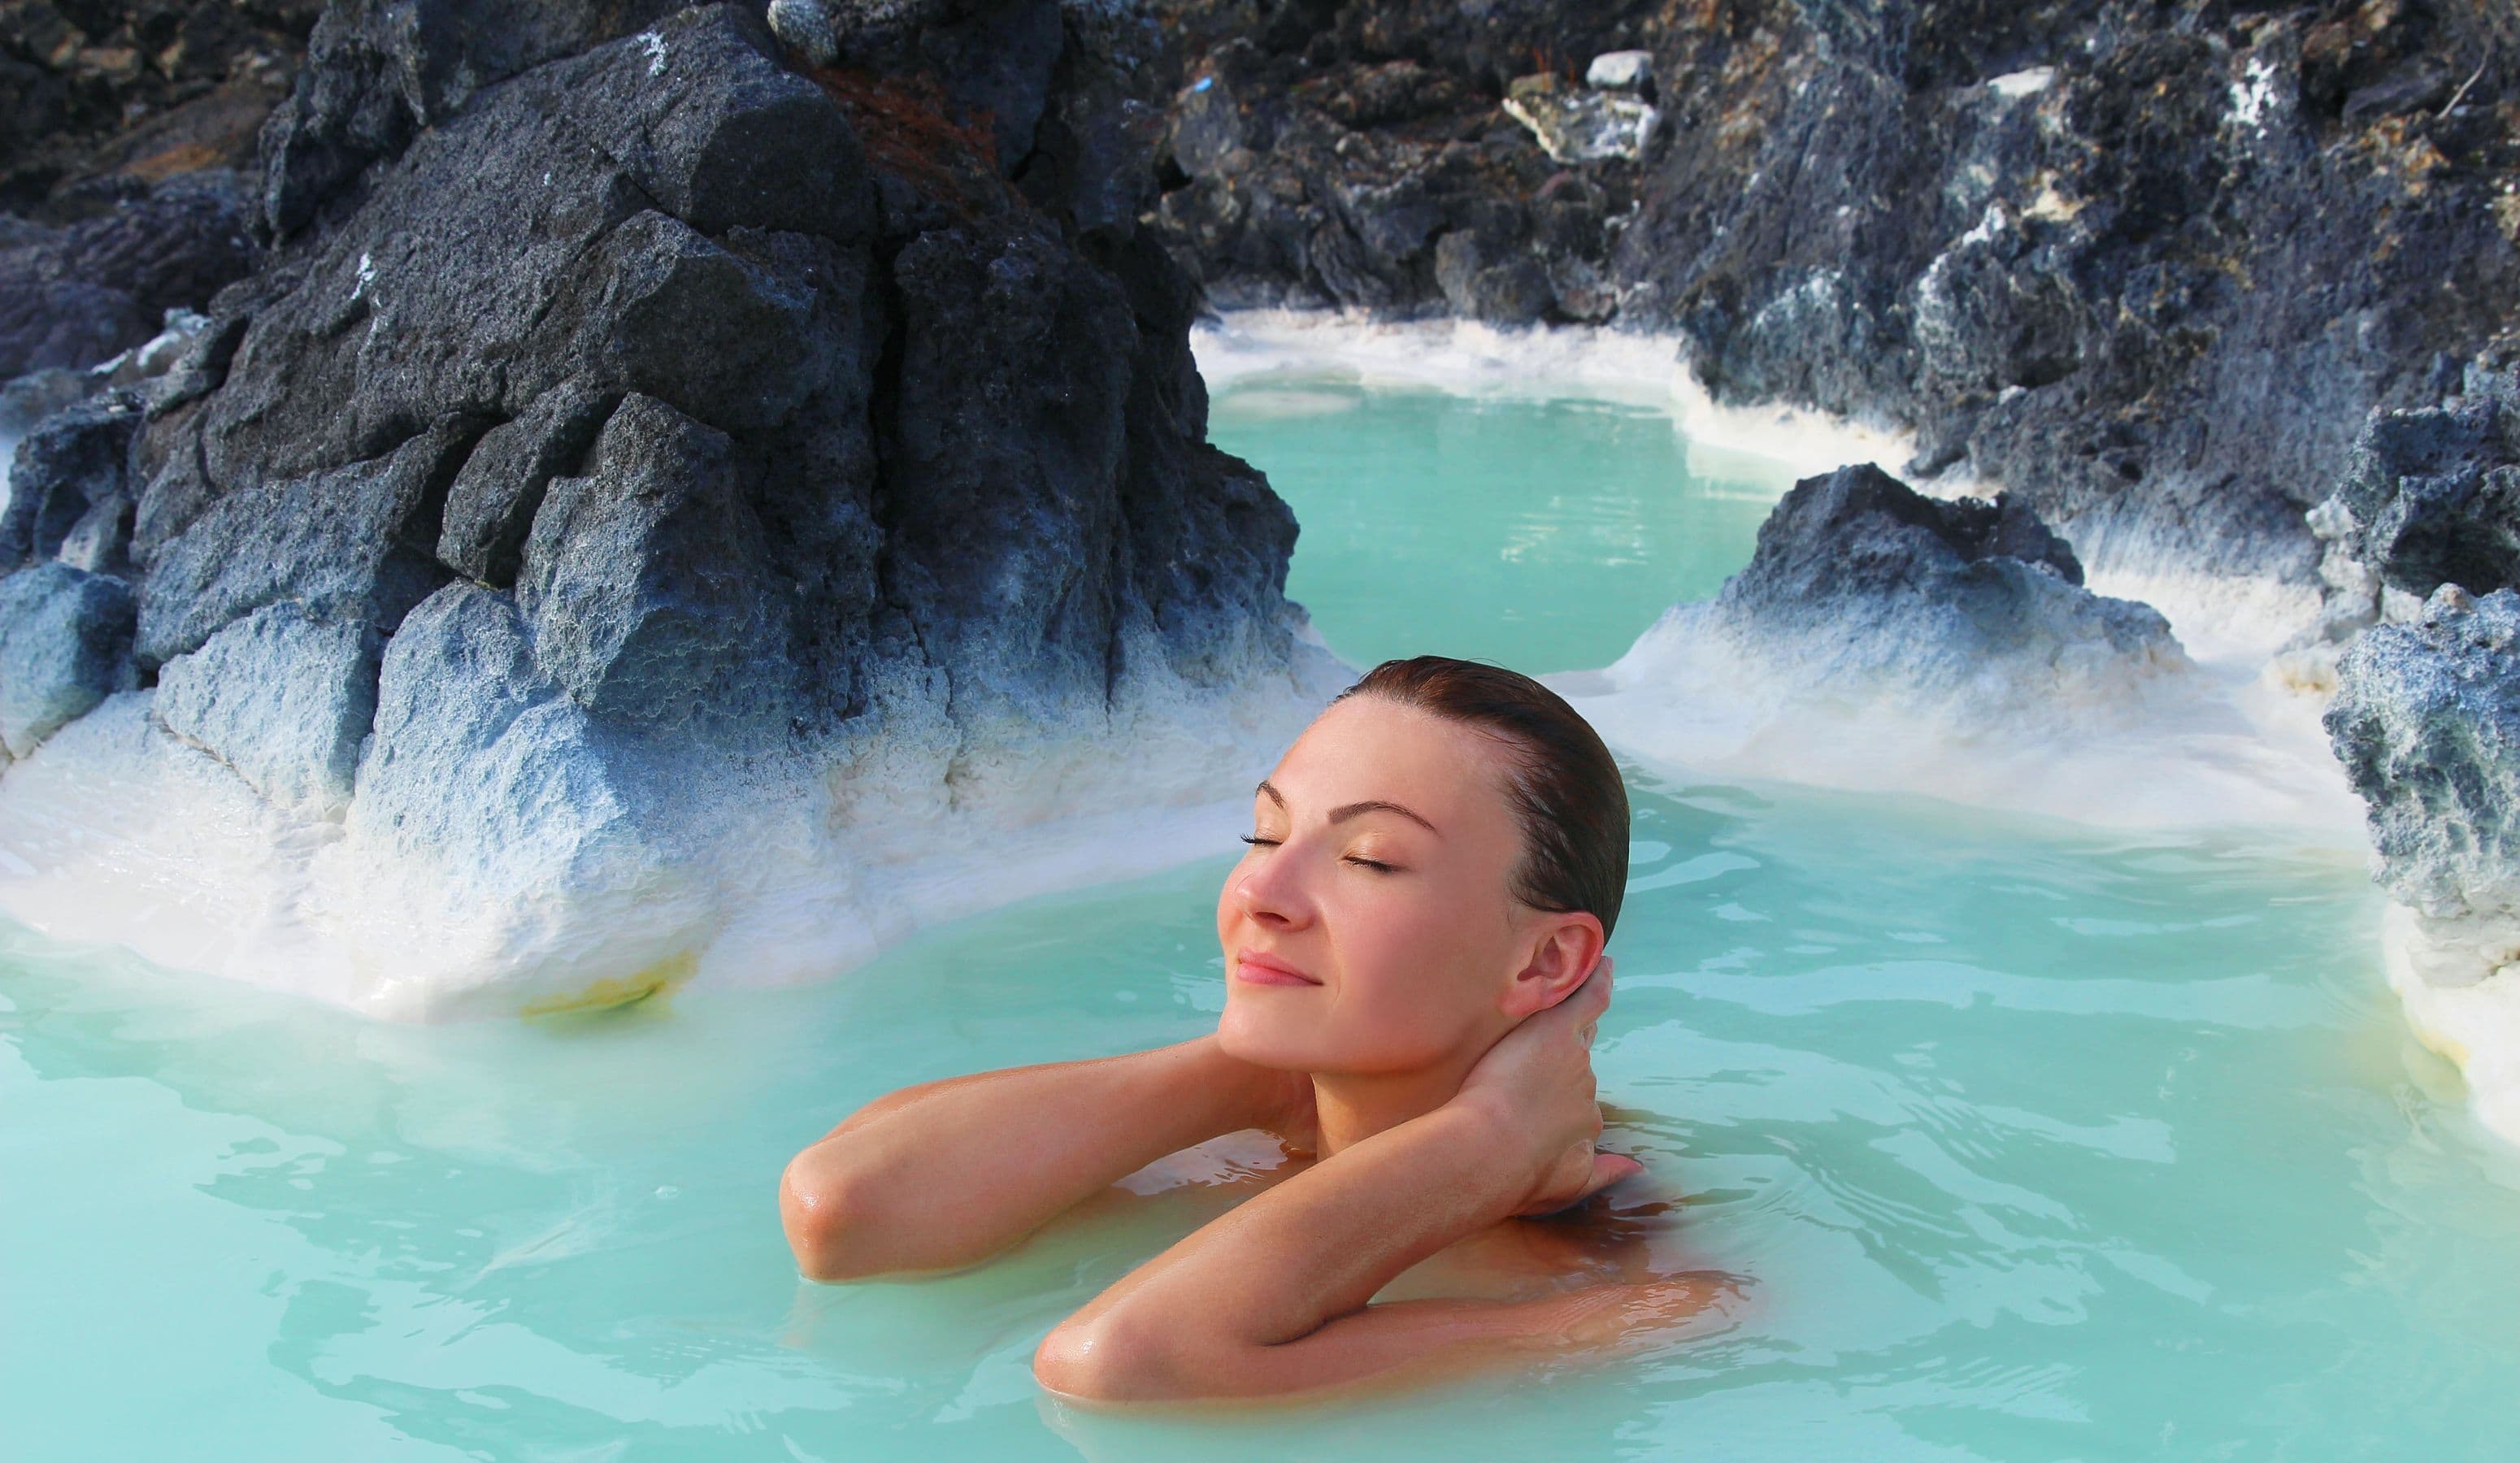
The Luxurious Geothermal Baths of Iceland: A Gateway to Bliss


Why Your Next Adventure Should Be Exploring Iceland by Camper Van
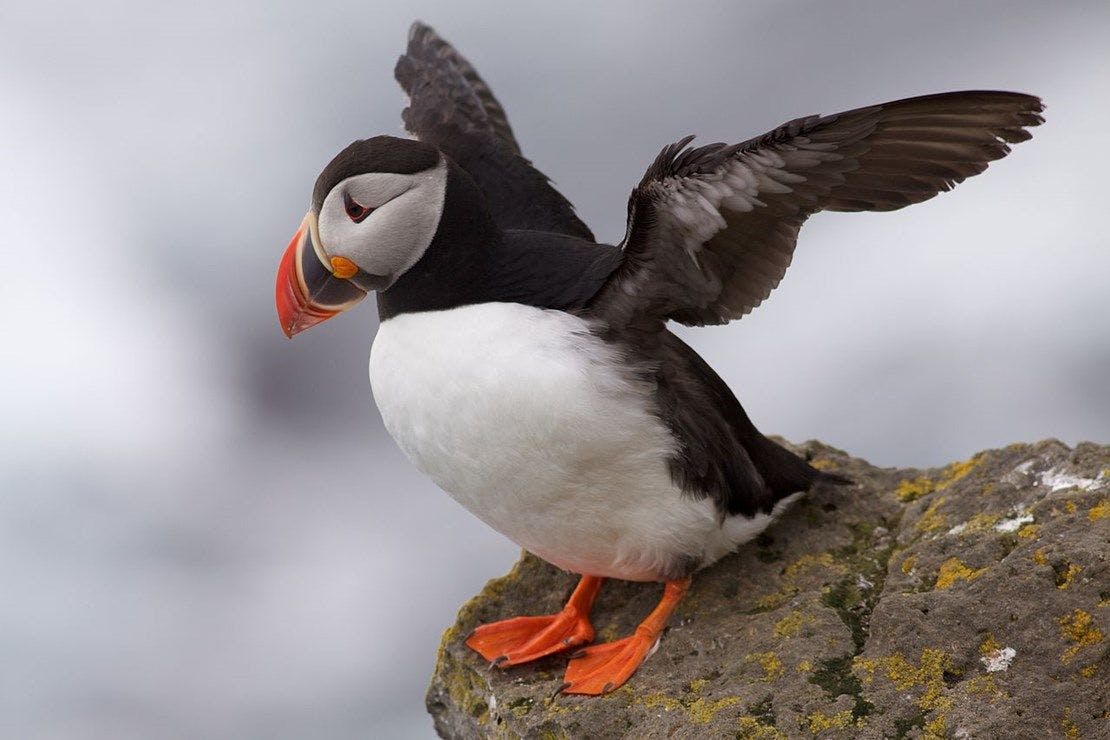

Best places to see puffins in Iceland


Top 9 Cafes in Reykjavík: Indulge in the Rich Culture of Iceland’s Coffee Scene
Arctic Adventure Essentials: What to Wear for Your Iceland Exploration
Hear from Our Customers
Welcome to Our Community - your hub for insightful reviews and authentic opinions. Join us in shaping the conversation where your voice matters!